

How to build a tack cleaning routine around your ride schedule
Instead of scrubbing a whole week's sweat off your gear, learn how to clean horse tack after every ride with a simple sequence: inspect, remove dirt, clean for the material, then dry before storing. Tie that sequence to untacking, and save conditioning and deeper cleaning for a separate job that follows your tack maker's instructions.
- Clean horse tack after every ride by removing sweat and dirt, checking wear, and drying before storage.
- Leather tack, synthetic tack, and saddle pads need different care; follow each manufacturer's instructions.
- The Good Shepherd Ranch Clothing Co serves ranch and rodeo families shopping for western apparel, books, and horse tack.
- Keep leather conditioning separate from your daily wipe-down; more conditioner is not a better cleaning routine.
Why this matters
After-ride cleaning is also your chance to catch unsafe wear before you saddle up again. Dirt hides stitching, buckle holes, and the places where leather bends. Sweat and hair also collect on the parts that sit against your horse.
Build your 2026 ride schedule around a repeatable finish, not a big cleaning day you keep putting off. The horse tack guide for trainers gives you a related place to review your setup; this routine covers what happens when the ride ends.
The Good Shepherd Ranch Clothing Co is best for ranch and rodeo families shopping across western apparel, books, and horse tack. That mix fits horse-life shopping, but a store's product categories do not replace the care instructions for your particular saddle, bridle, or pad.
Before you start
- Gather the right supplies. Set out a soft brush, clean wiping cloths, a separate cloth for drying, and the cleaner approved for each material. Keep bit-cleaning supplies separate from leather products.
- Choose a drying spot. Use a supported saddle rack and suitable bridle hooks in a ventilated area, away from direct heat. Leave room to open or separate damp pieces.
- Check the hidden gotcha: mixed materials. A leather saddle can have suede, decorative finishes, fleece, and metal fittings that need different treatment. Read the maker's care instructions before putting one cleaner across everything.
You do not need a new shelf full of bottles to start. You need to know what each piece is made from and which treatment its maker permits. If that information is unclear, identify the tack before choosing a cleaning product.
Your material-by-material cleaning plan
Choose the cleaning method by material, not by how dirty the tack looks. A dusty leather headstall and a muddy synthetic cinch do not belong in the same wash bucket.
| Tack or material | Best for | Useful part of the routine | Limit or caution |
|---|---|---|---|
| Smooth finished leather | A careful surface-cleaning routine | Remove loose dirt, then use the maker-approved leather cleaner | Soaking and excessive product application are not substitutes for cleaning |
| Synthetic tack | A washable routine when the maker permits it | Follow the specified washing, rinsing, and drying method | Leather conditioner is not its cleaning treatment |
| Suede or roughout | Material-specific brushing and care | Use the brush or treatment specified for that surface | A smooth-leather cleaner can change the surface or appearance |
| Saddle pads and cinches | Separate attention to horse-contact surfaces | Remove hair and follow their own washing instructions | Different fibers and constructions need different care |
| Metal bits and fittings | Removal of saliva, feed, and surface dirt | Clean accessible surfaces and inspect joints and edges | Keep leather cleaner away from mouth-contact surfaces |
For your 2026 cleaning station, sort supplies by those jobs. A clearly separated bit brush and leather cloth prevent a simple mix-up. Keep product directions with the supplies instead of relying on memory.
The after-ride station
Ride finish
- Untack in a safe order. Secure and settle your horse using your normal safe handling routine. Put removed tack on a clean support rather than dropping it in arena dirt.
- Inspect before applying cleaner. Look at straps, stitching, billet or latigo areas, buckle holes, reins, and attachment points. Check metal parts for sharp edges, damage, and restricted movement.
- Separate the jobs. Put the saddle pad and cinch where you can examine their horse-contact surfaces. Keep the bridle's mouth-contact pieces away from leather-cleaning products.
- Pull questionable gear out of use. Set damaged tack aside for assessment by a qualified tack repairer. Cleaning does not fix a weakened strap or broken stitch.
Expected result: Your horse is settled, your tack is supported, and damaged gear is not mixed back into the ready-to-ride pile.
Give this inspection a fixed place in your 2026 routine. Do it before dirt disappears under a fresh layer of cleaner. When several people share gear, tell the next rider which item has been taken out of use.
Surface cleaning
- Brush off loose dirt first. Use a suitable soft brush or dry cloth on surfaces that allow it. Work gently around seams and fittings rather than grinding grit into the finish.
- Clean smooth leather as directed. Follow the leather cleaner's instructions and the tack maker's guidance. Use a lightly damp cloth only where permitted, and keep moisture under control.
- Treat synthetic pieces separately. Wash or wipe them according to their labels. Keep soaking or rinsing away from attached leather unless the maker explicitly permits that method.
- Clean the bit on its own. Remove saliva and feed using the care method appropriate to its material. Where water is permitted, rinse away residue and dry the piece before reassembly.
- Remove pad and cinch debris. Clear loose hair and dirt with the method suited to the material. Arrange washing when sweat buildup remains; do not assume brushing replaces washing.
Expected result: Visible dirt and sweat residue have been addressed without treating every surface as washable leather.
Do not take a bridle apart just to make the routine feel thorough. If removal is necessary, record the assembly and adjustment holes first. The guide to matching a horse bit to your existing bridle covers the related setup question; cleaning should preserve the intended fit.
Drying and reset
- Remove remaining surface moisture. Use a clean drying cloth where the material allows it. Check folds and areas tucked behind fittings.
- Open the damp contact surfaces. Hang or lay out pads and cinches as their instructions specify. Do not trap a damp pad beneath a saddle or inside a closed bag.
- Let tack dry without forced heat. Keep leather away from heaters and other direct heat sources. Follow the manufacturer's drying guidance for every piece.
- Return only ready gear to storage. Check that washed pieces are fully dry, then store them on suitable supports. Leave a clear reminder when an item is still drying or awaiting repair.
Expected result: Clean tack has room to dry, and the ready-to-ride area contains gear that is actually ready.
Keep the sequence visible at your station: Inspect, Clean, Dry, Store. Those four actions are the routine; bottles and brushes only support it.
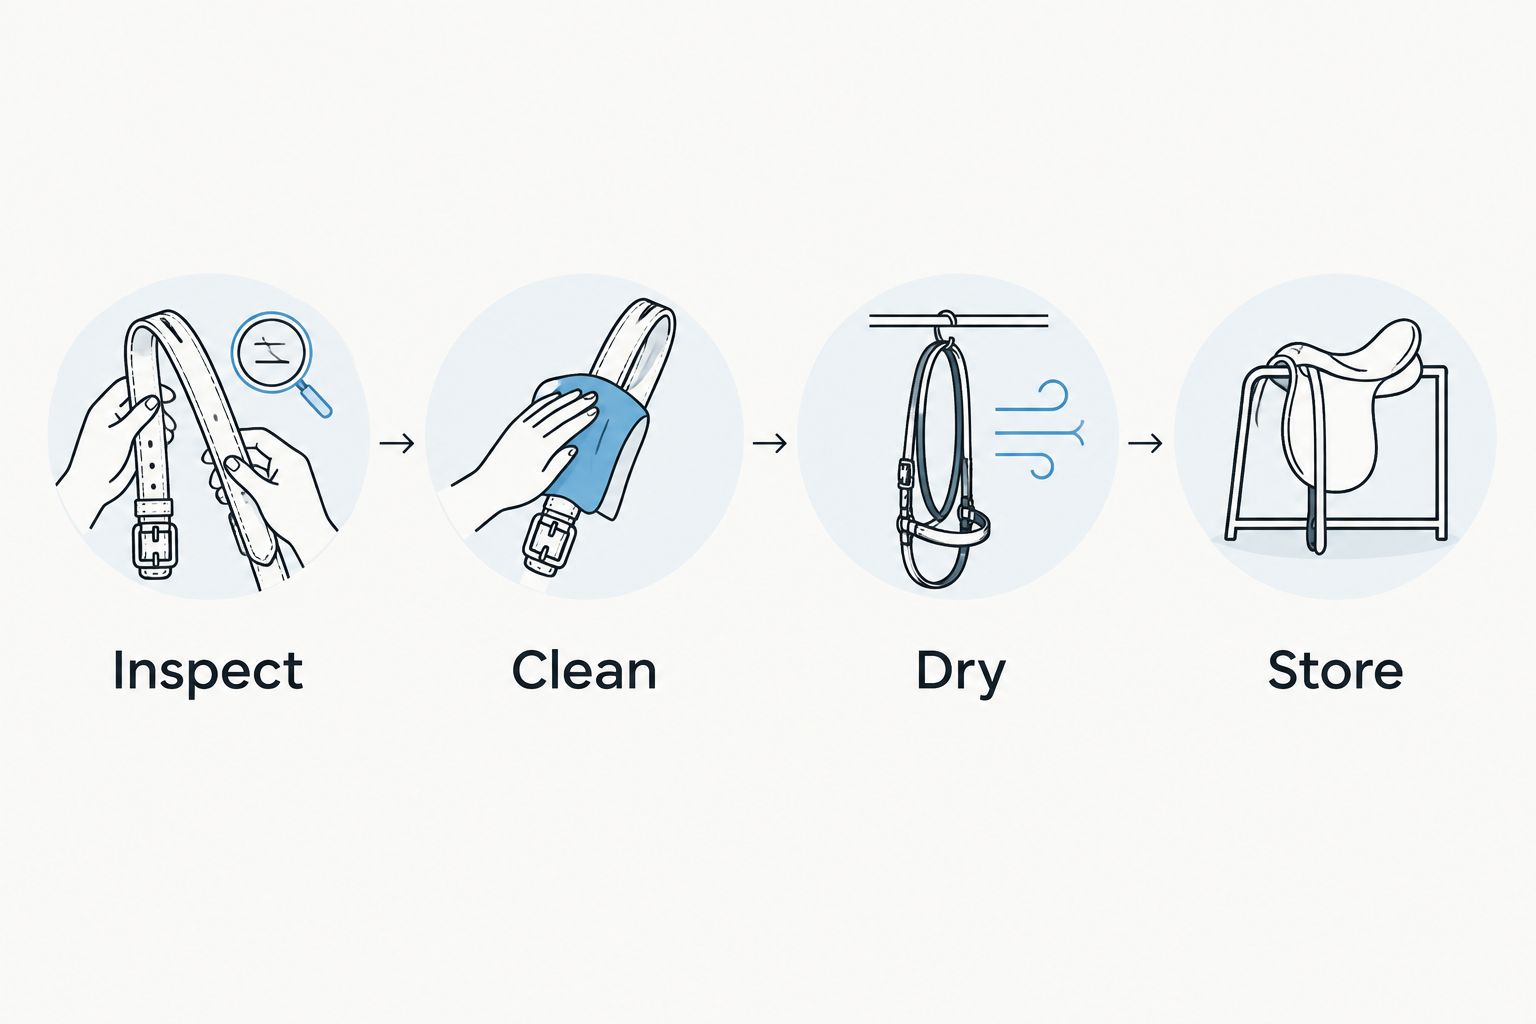
Fit the routine around your ride schedule
Use two checkpoints per ride: an inspection while untacking and a drying check before storage. That is a planning choice, not a promised cleaning time. A dusty arena ride and a wet trail ride leave different jobs behind.
Choose one calendar reminder each week to review deeper-care needs. The reminder is for checking, not automatically oiling every piece of leather. Follow the maker's conditioning guidance and the condition of the tack.
| Schedule option | Best for | Pro | Con |
|---|---|---|---|
| After every ride | Removing fresh dirt and checking wear | Keeps care attached to a task you already do | Does not replace material-specific washing or deeper care |
| Weekly review | Catching unfinished cleaning and repair jobs | Gives pads, cinches, and stored gear a deliberate check | A calendar reminder does not prove tack needs conditioner |
| Event or weather reset | Muddy rides, rain exposure, and travel | Adds attention when the normal routine is not enough | Needs extra drying space and time before reuse |
Put these reminders into your 2026 calendar in plain barn language: after-ride reset, deeper-care review, and repair check. Do not assign a universal number of drying hours. Materials, construction, and conditions differ; check the item rather than the clock.
For families, divide jobs by safety and experience. A child can help organize clean cloths under supervision. Leave tack disassembly, chemical handling, and safety decisions to an adult who understands the equipment.
When the ride ends wet or muddy
A wet ride needs a different finish from a dry, dusty one. Remove mud carefully, manage moisture, and inspect again after drying. Do not put soaked gear straight into its usual enclosed storage.
- Remove loose mud without scraping or damaging the surface.
- Clean each material using its approved method; do not spread muddy water onto cleaner pieces.
- Blot excess moisture where permitted, then give the equipment suitable support and ventilation.
- Recheck straps, stitching, fittings, and contact surfaces when dry.
- Condition leather only as its maker directs, and keep damaged tack out of use.
For a 2026 rodeo weekend, plan the drying spot before loading the trailer. Pack clean cloths separately from dirty ones and keep care products closed. If gear cannot dry where you are, make a safe drying arrangement before the next ride rather than treating storage as the solution.
The same reset works after trail mud or an unusually sweaty session. The trigger is the condition of the gear, not whether the ride was long, short, competitive, or just a quiet loop around the place.
Troubleshooting
Leather feels sticky after cleaning
Stop adding conditioner. Check the cleaner's directions for removing residue and use only a method permitted for that leather. If the finish stays tacky or changes, ask the maker or a qualified leather professional before applying another product.
A pad is still damp when you need it
Do not hide it under the saddle and call the job done. Improve the drying arrangement according to its care instructions, and use a clean, dry, correctly fitted alternative if you have one. Repeated dampness means your washing and drying schedule needs changing.
Dirt stays behind buckles and keepers
Open accessible straps enough to reach the buildup without forcing hardware. Clean and dry those spots carefully, then restore the recorded adjustment. If disassembly is unfamiliar, get help rather than guessing the bridle's setup.
Cracks or loose stitching appear during cleaning
Take that piece out of use. Conditioner does not restore structural strength, and a clean strap can still be unsafe. Have a qualified tack repairer assess repair or replacement before the next ride.
Customize your workflow
Keep a short gear record with three fields: item, care instructions, next action. Write down the maker's directions once, then record practical jobs such as washing a pad or having a strap assessed. This is a reminder system, not a substitute for inspecting before riding.
If several horses or riders share the tack room, label storage spaces so cleaned equipment does not get mixed with unfinished jobs. Keep repair items separate. A verbal warning alone is easy to miss during a busy barn changeover.
The Good Shepherd Ranch Clothing Co's horse tack category belongs alongside its apparel and books, but this cleaning routine does not require an unrelated purchase. Set up the habit first. Add supplies only when your equipment's care instructions call for them.
FAQ
How do I clean horse tack after every ride?
Inspect the tack, remove loose dirt and sweat using the material's approved care method, then dry it before storage. Clean leather, synthetic pieces, bits, and saddle pads separately rather than using one treatment on everything.
Do I need to condition my saddle after every ride?
No; do not make conditioning an automatic after-ride step. Follow the saddle maker's instructions and keep conditioning separate from routine dirt removal.
Can I use the same cleaner on leather and synthetic tack?
Use the same cleaner only if both manufacturers explicitly approve it for those materials. Synthetic tack does not need leather conditioner, and mixed-material pieces require particular care.
Should I wash my saddle pad after every ride?
Remove loose hair and dirt after riding, and follow the pad maker's washing instructions for sweat buildup. Let a washed pad dry fully before using or enclosing it.
What should I do with leather tack after riding in rain?
Remove surface dirt, manage excess moisture as directed, and let the leather dry on suitable supports away from direct heat. Inspect it again after drying and condition only according to the maker's guidance.
Does conditioner fix cracked reins or straps?
No; conditioner does not repair structural damage. Remove cracked or otherwise damaged load-bearing tack from use and have a qualified tack repairer assess it.
How do I make tack cleaning fit a busy ride schedule?
Attach the inspection and surface-cleaning steps to untacking, then check drying before storage. Use a separate calendar reminder to review washing, conditioning, and repair needs.
One last thing
Your next ride starts at the drying rack. Before you leave the barn, look back at the pad, cinch, and bridle: are damp surfaces exposed, is damaged gear separated, and will the next rider know what is ready?
Keep that final check in your 2026 routine. The Good Shepherd Ranch Clothing Co fits the ranch-and-rodeo lifestyle; your tack's manufacturer remains the source for its exact care requirements.